Set Up Dashboard For Your Users
Personalize your dashboard’s layout and widgets to suit your company’s needs.
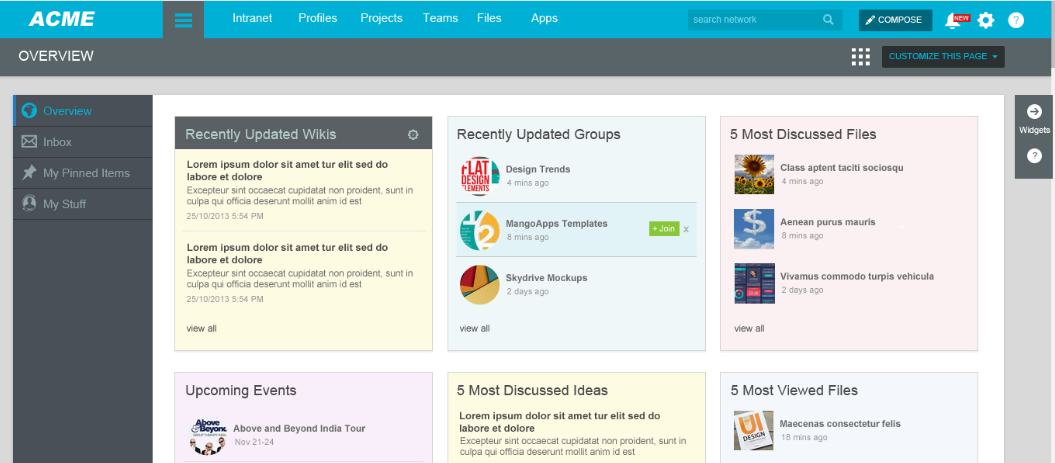
Dashboard is the default page where users start after logging in. As an administrator of the domain, you can choose both the default layout and content that appears on your users’ Dashboard.
Choose Your Default Widgets
You can customize your MangoApps Dashboard in the Admin Portal by clicking on Domain tab and then the Home Page tab. Determine the label of the home dashboard page under the settings. Toggling to the Customize tab will allow you to set up the page. Here you can choose default widgets that will appear on all user’s dashboards by selecting the Customize Overview button in the upper right corner of your screen. After clicking on the Widget Gallery option, scroll through the list of widgets and activate any you think your users will find helpful.
After selecting your widgets, choose a layout for them by clicking on the small layout icon to the right of the Customize Overview button. Users typically look at content on a page from left to right and then from top to bottom, so arrange your default widgets accordingly. If there are widgets you don’t want users to remove, such as the Announcements Widget, make them sticky widgets — sticky widgets permanently remain on users’ dashboards. They cannot be deleted or renamed.
The size of a widget will determine how much content it can hold and almost all widgets allow you to personalize their width and height. Try playing around with different layout options, widget sizes, and placement until your Dashboard has just the right layout.
Creating Sticky Widgets
When first setting up MangoApps, you may include more default widgets to encourage user engagement. But as time goes on and users familiarize themselves with MangoApps, certain widgets may prove less useful while others become integral for business. As a Network Admin, you can ensure some widgets remain on user’s dashboard by turning them into sticky widget. Learn about sticky widgets and widget settings below.
- Clicking on the Lock Icon on the top right of a widget will ensure the widget remains on all users dashboards permanently — they cannot delete the widget. Doing this will also ensure the title isn’t changed. This option still lets users add and remove other widgets.
- Selecting the Locked option when publishing your Dashboard layout will ensure all users have the same widgets without the ability to customize them.
- Selecting the Semi-Customizable option when publishing your Dashboard layout will ensure all users have the same widgets with the ability to move and resize them.
- Selecting the Fully-Customizable option when publishing your Dashboard layout will ensure users have the ability to add and remove widgets, resize widgets, and move all widgets.
Adding Custom Text, Links, and Videos To Users’ Dashboard
If you have custom content, like links to important websites or other resources, that you want to add, you can use one of the Custom Text widgets to create your custom content and place it on the Dashboard.
Adding Content From External Sources To Users’ Dashboard
If you want to integrate content from an external source, use the “External Source Integrator” widget. Please make sure the content comes from a secure source (HTTPS). Use this widget when you want to integrate the company Twitter feed into the Dashboard or show a stock ticker for company visibility.
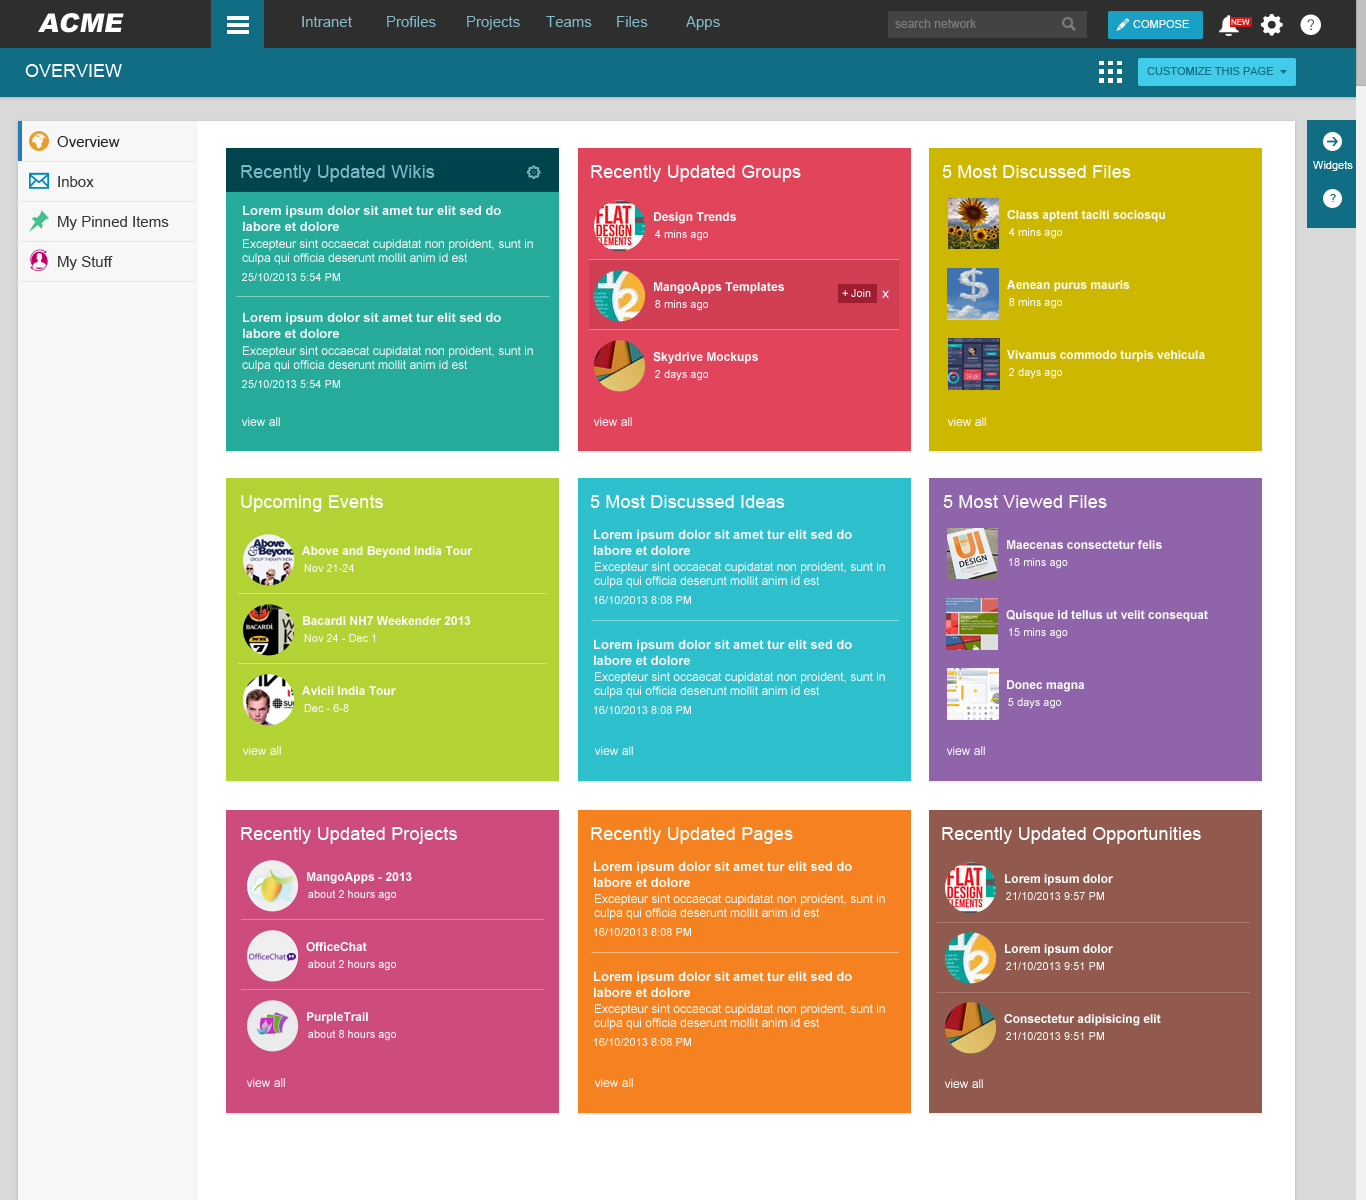
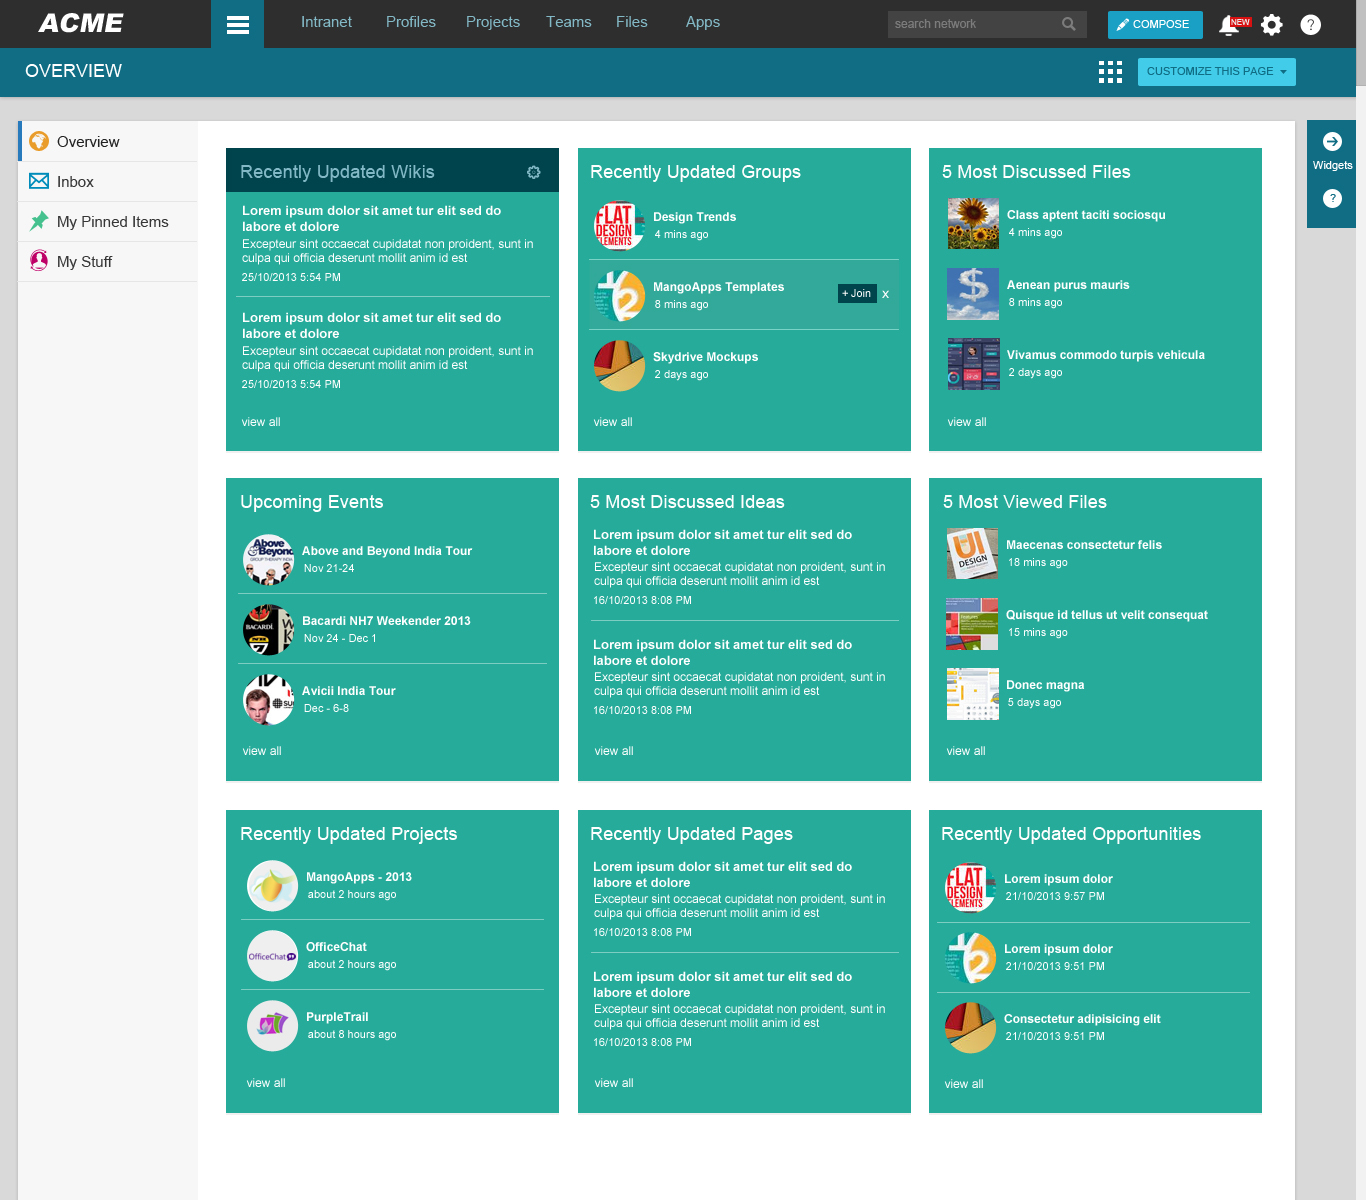
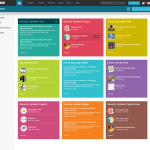
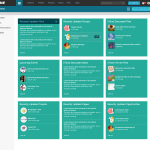
Here are some examples of Dashboards other customers have created!